The finish on your floor does more than make it look good. It determines how long the floor holds up, how much work it takes to maintain, and whether it survives daily life in your specific rooms. Knowing how to choose floor finishes correctly can be the difference between a floor that looks great five years from now and one that starts showing its age within months. With so many residential floor coating options available, from water-based polyurethane to hard-wax oil to epoxy, the choices feel endless. This guide breaks it down into decisions you can actually make with confidence.
Table of Contents
- Key Takeaways
- How to choose floor finishes: what to assess first
- Evaluating finish types by performance and maintenance
- Step-by-step guide to selecting and applying a floor finish
- Common mistakes and how to catch them early
- My honest take on choosing floor finishes
- Ready to take the next step with your floors?
- FAQ
Key Takeaways
| Point | Details |
|---|---|
| Match finish to floor material | Not every finish works on every floor type — always check compatibility before buying. |
| Solids content drives durability | High-solids finishes build a thicker protective film per coat, so fewer coats are needed. |
| Room function shapes finish choice | Wet rooms need slip-resistant, moisture-tolerant finishes; high-traffic areas need harder coatings. |
| Maintenance capacity matters | Choose a finish you can realistically maintain — gloss fades fast without the right upkeep routine. |
| Surface prep determines success | Even the best finish will fail on a poorly prepared or contaminated subfloor. |
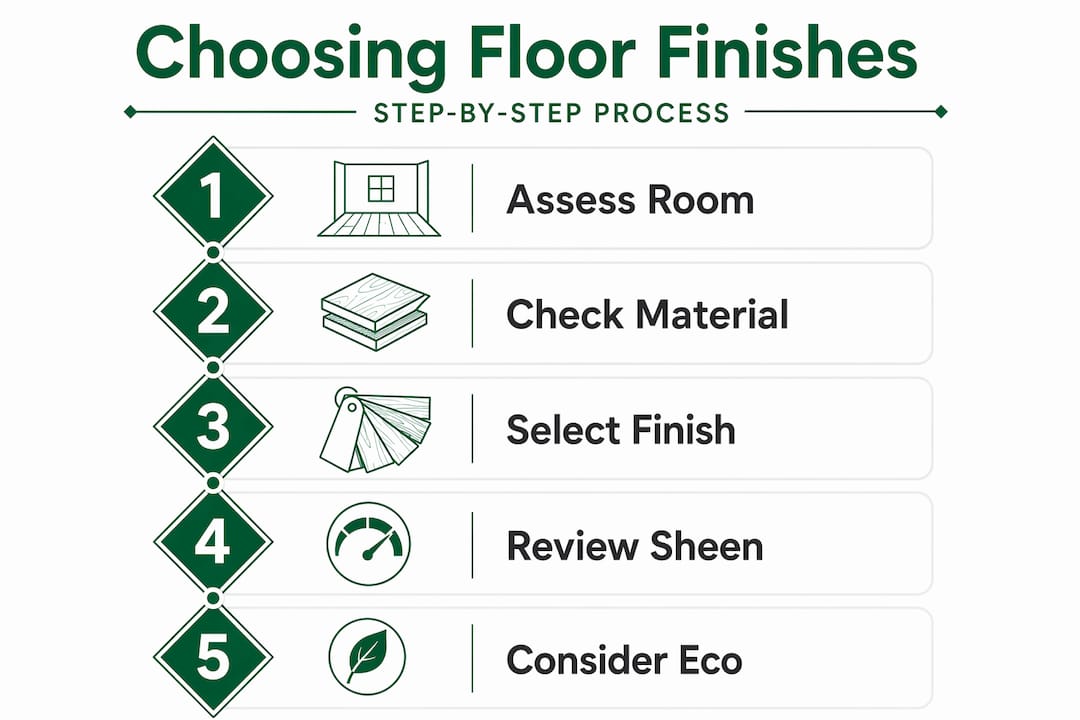
How to choose floor finishes: what to assess first
Before you pick a product, you need to understand the conditions your finish will live in. Skipping this step is the single biggest reason homeowners end up redoing floors within a few years.
Floor material compatibility
Different flooring materials respond to finishes in very different ways. Solid hardwood, engineered hardwood, vinyl, laminate, and tile each have their own requirements. A water-based finish that works beautifully on red oak can cloud over or peel on certain vinyl planks. Laminate floors, for instance, are factory-sealed and typically not meant to receive an additional surface finish at all. Tile floors use grout sealers and surface coatings rather than the film-building finishes you would apply to wood.
Vinyl flooring thickness also matters more than most people realize. Thinner vinyl is prone to splitting during installation and offers less stability for coatings applied on top. Look for at least 7mm of total thickness for durable results.
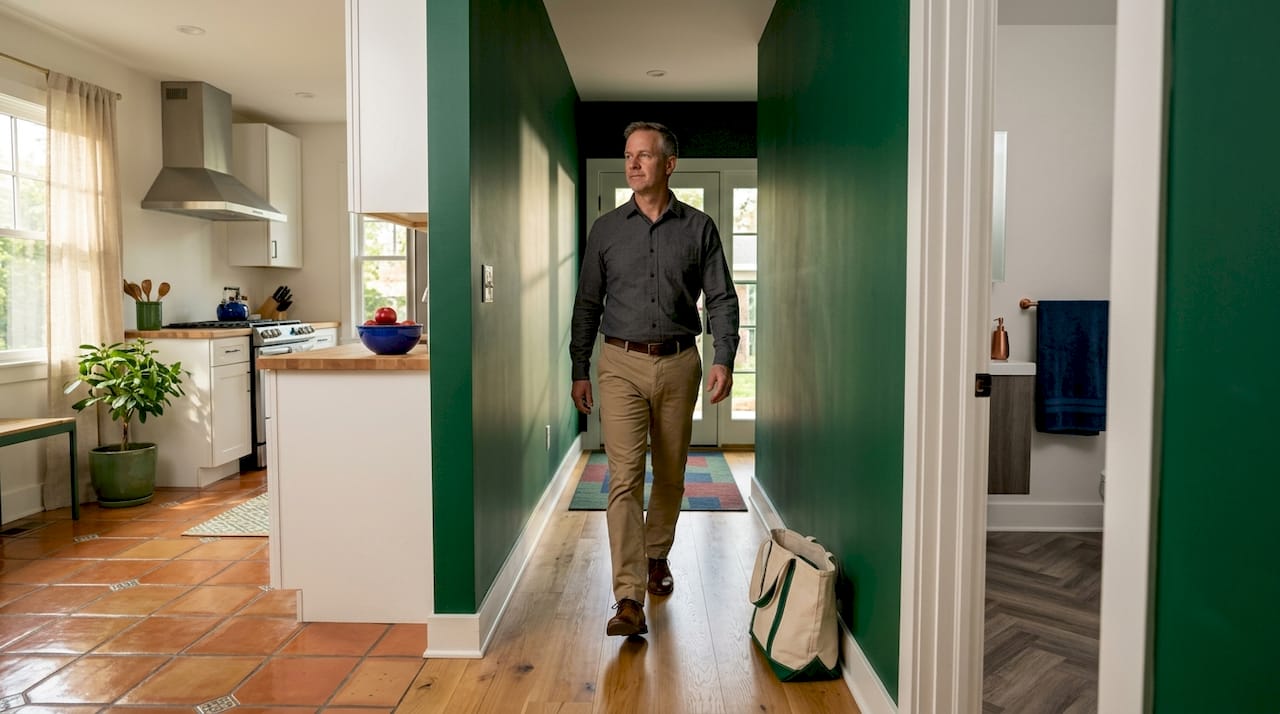
Room-specific needs
A hallway, a kitchen, and a basement bathroom are three completely different environments. High-traffic areas need finishes with stronger abrasion resistance. Kitchens and bathrooms introduce moisture, which can compromise certain coatings over time. For wet-area tile, slip resistance ratings carry real safety weight. The ANSI DCOF threshold for level interior tile floors walked on when wet is 0.42, but that number alone does not tell the whole story. Installation quality, surface texture, and contaminants all affect how safe a finished floor actually feels underfoot.
Subfloor and underlayment conditions
This is where most DIY floor finish projects go wrong. Subfloor preparation directly affects how well a finish bonds and how long it lasts. Concrete subfloors introduce moisture risk, and moisture-sensitive adhesives require testing before installation to avoid failures. The right underlayment can act as a moisture barrier or provide cushioning, both of which support finish performance above it.
| Subfloor type | Key concern | What to do |
|---|---|---|
| Concrete | Moisture transmission | Test moisture levels; use a vapor barrier |
| Plywood | Movement and flex | Secure loose panels; sand high spots |
| Old adhesive residue | Bond failure | Remove fully before applying new finish |
| Uneven surface | Cracking and peeling | Level with floor leveler compound |
Evaluating finish types by performance and maintenance
Once you know your floor material and room conditions, the next step is understanding what separates one type of finish from another. The most meaningful factors are solids content, burnishability, sheen level, and environmental profile.
High solids vs. low solids finishes
Solids content refers to the percentage of a finish that remains after the carrier (usually water or solvent) evaporates. High-solids finishes at around 22% to 25% build a thicker, more durable film per coat. That means fewer coats to reach full protection and a faster overall process. Low-solids finishes are thinner and easier to apply evenly, which makes them more forgiving for first-timers. The tradeoff is that you need more coats to achieve the same protection level, and the film may not hold up as long under heavy traffic.
Starting with solids content as your first filter simplifies the entire selection process. If you want durability with fewer coats, go high solids. If you want easier application and are comfortable with more frequent recoating, low solids can work well.
Burnishable vs. burnish-free finishes
Burnishable finishes are designed to be brought to a high gloss by buffing with a high-speed floor machine. They can achieve a mirror-like shine but require the right equipment and technique. Burnish-free finishes skip that step. They reach their final gloss straight out of the bottle, which is a major advantage for homeowners who do not own professional floor machines. The ceiling on gloss level is lower, but for most residential spaces, that is an acceptable tradeoff.
Sheen levels and what they reveal
Finish sheen runs from flat matte through satin, semi-gloss, and full gloss. Higher sheen looks striking fresh, but it shows every scuff, scratch, and footprint with brutal clarity. Matte and satin finishes are far more forgiving in high-traffic family homes. They hide wear between cleanings and still look intentional and modern.
Pro Tip: If you love the look of a high-gloss finish, test it in one small area first. Live with it for two weeks of normal use before committing the whole floor. You may find that what looked perfect in the showroom reads as a maintenance burden in your actual home.
Low-VOC and eco-friendly options
Water-based polyurethane finishes have lower volatile organic compound (VOC) emissions than oil-based versions and dry significantly faster. Many homeowners choose them for bedrooms and living spaces where staying out of the room for days is not practical. Hard-wax oils represent another category worth knowing. They penetrate the wood rather than sitting on top, making spot repairs much easier. You can re-treat a scratched section without refinishing the whole floor.
Step-by-step guide to selecting and applying a floor finish
This is where preparation and research translate into a real decision and a real floor.
- Document your traffic patterns. Walk every room and honestly assess how much foot traffic it gets and from whom. Kids, dogs, and work boots demand harder finishes than a guest bedroom.
- Test for existing finish type. Rub a small amount of mineral spirits on an inconspicuous spot. If the area softens or gets tacky, you likely have a wax-based finish. If nothing happens, it is probably polyurethane. Matching or stripping existing finishes before adding a new coat prevents adhesion failures.
- Select finish based on your floor material. Use resources like the hardwood floor finishes guide at Polishedjemmfloor to cross-reference specific products with your floor species and condition.
- Assess your maintenance commitment honestly. Finish maintenance is a system. Polyurethane finishes, for example, respond very differently to wax-based cleaners than they do to pH-neutral products. Pick a finish you are actually willing to clean correctly.
- Prepare the surface. Sand, clean, and let the floor dry completely. For hardwood, buying consistent material from the same batch and mixing boards from multiple boxes prevents color banding after the finish goes down.
- Apply in thin, even coats. Follow manufacturer instructions precisely. More coats does not always mean better results when each coat is applied too thick.
| Tool or material | Purpose |
|---|---|
| Applicator pad or lambswool applicator | Even finish distribution |
| Fine-grit sanding screen (220 grit) | Light scuff between coats |
| Tack cloth | Remove dust before each coat |
| Moisture meter | Check subfloor and wood before starting |
| pH-neutral cleaner | Pre-clean surface without leaving residue |
Skipping the scuff-sanding between coats is the single most common reason finish layers peel apart. One pass with a 220-grit screen takes five minutes per room and is never optional.
Pro Tip: Always apply finish in the direction of the wood grain and work from the far corner of the room toward the exit. You should never need to walk across wet finish to leave.
Common mistakes and how to catch them early
Even careful homeowners run into problems. Knowing what to watch for saves you from finding out too late.
- Wrong finish for the environment. Applying an interior-only water-based finish in a below-grade basement with humidity fluctuations leads to bubbling and peeling within months. Always match the finish to the moisture profile of the room.
- Insufficient surface cleaning. Oil residue, cleaning product buildup, or wax from previous finishes will prevent new coats from bonding. Even floors that look clean may have invisible contamination.
- Ignoring early wear signs. White or gray patches in high-traffic zones signal that the protective finish layer is thinning. Catching this early means a simple screen-and-recoat instead of a full sand and refinish.
- Using incompatible cleaning products. Resilient floor finishes are damaged by harsh chemical cleaners. Stick with products recommended by the finish manufacturer.
- Rushing dry time. High solids products may feel dry to the touch in two hours but need 24 to 72 hours before furniture goes back. Moving in too soon causes dents and impressions that cure permanently into the finish.
Call a professional when the floor shows deep scratches into the wood itself, when peeling covers more than a small section, or when moisture damage has caused cupping or crowning. A screen and recoat is a DIY-friendly task. Full sanding and refinishing is not.
My honest take on choosing floor finishes
I have seen homeowners spend weeks researching finish brands and gloss levels while completely ignoring the state of their subfloor. Then they wonder why their beautiful new finish is bubbling six months later. The finish is the final piece of a system. Every component below it has to be right first.
The other thing I have learned is that most homeowners overestimate their tolerance for high-gloss floors. They look at showroom photos and want that mirror finish. Then they live with it for three months and realize they are wiping scuffs off the floor twice a day. Satin and matte finishes are not a compromise. In most family homes, they are the smarter choice. You can always check out current floor finish trends to see how design preferences are shifting toward lower sheens in 2026.
My actual advice: pick the finish that matches how you live, not how your home looks in photos. A floor finish that fits your lifestyle will look better at year five than a photogenic one that you have been fighting the whole time.
— Jim
Ready to take the next step with your floors?
Whether you are still weighing your residential floor coating options or you have already run into a finish problem that is beyond a DIY fix, Polishedjemmfloor is here to help. Since 2014, the Polished JEMM team has refinished hardwood floors across the tri-state area using eco-friendly products and meticulous craftsmanship.
From comprehensive hardwood floor refinishing services to fast One-Day Screen and Recoat options, they handle every step. If you are considering a durable, modern alternative, their epoxy coating services offer a resilient option for basements, garages, and commercial spaces. For a detailed walkthrough of the refinishing process before you contact them, the floor refinishing guide is a great starting point. Reach out to Polishedjemmfloor today for a personalized consultation.
FAQ
What is the best floor finish for high-traffic areas?
Hard-wearing water-based polyurethane or oil-based polyurethane with a semi-gloss or satin sheen works well in high-traffic areas because they resist abrasion and clean easily without showing wear as quickly as higher-gloss options.
How do I know what finish is already on my floor?
Rub a small amount of mineral spirits on an out-of-the-way spot. If the surface softens or becomes tacky, it is wax. If there is no reaction, you most likely have a polyurethane or similar surface finish already in place.
How often do floor finishes need to be reapplied?
Most residential floor coatings last three to five years under normal use before needing a screen and recoat. Heavily trafficked areas may need attention sooner, while low-use rooms can go longer between applications.
Can I apply a new finish over an old one without sanding?
Yes, in some cases. If the existing finish is in good condition with no peeling or wax contamination, a light scuff-sand followed by a compatible recoat can work. Full sanding is needed when the finish has failed, peeled, or when switching to an incompatible product.
Are low-VOC floor finishes as durable as traditional ones?
Modern water-based, low-VOC polyurethane formulas have caught up significantly in durability. High-solids water-based finishes in particular deliver excellent hardness and clarity, with the added benefit of faster dry times and lower odor during application.